Emby
What is Emby?
From their website:
Emby brings together your personal videos, music, photos, and live television. (…) Emby Server automatically converts and streams your personal media on the fly to play on any device.
In YAMS, Emby is your streaming service superstar! 🌟 Just like Netflix or Amazon Prime, Emby lets you stream all your media to any device. The best part? You’re in complete control!
Initial configuration
In your browser, go to http://{your-ip-address}:8096/ and you’ll see Emby’s setup page.
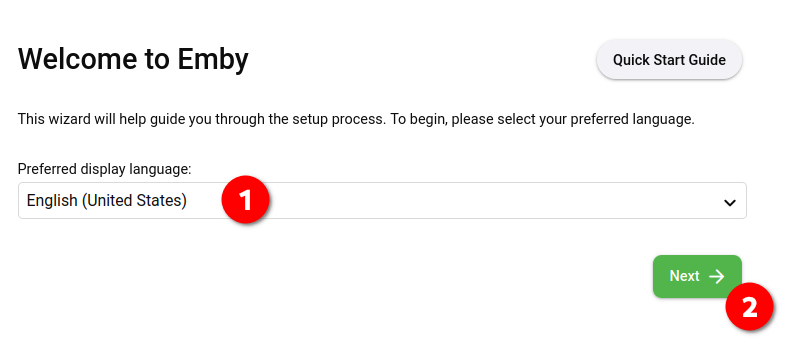
First up, pick your display language and click on “Next”.
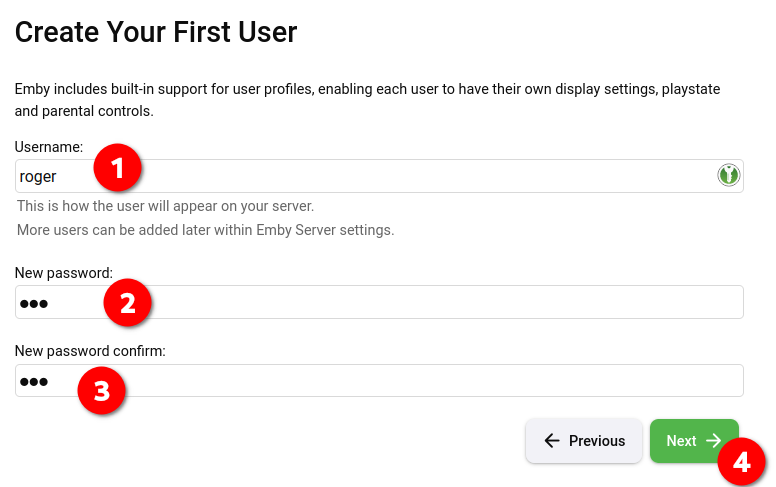
Time to create your first user! This will be your admin account, so make it a good one. When you’re done, click “Next”.
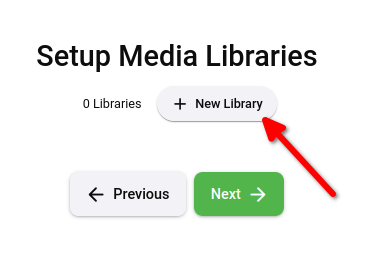
Now we’re at the “Setup Media Libraries” page. Click on “New Library” - let’s tell Emby where all your awesome content lives! 🎬
Setting up your TV Shows library
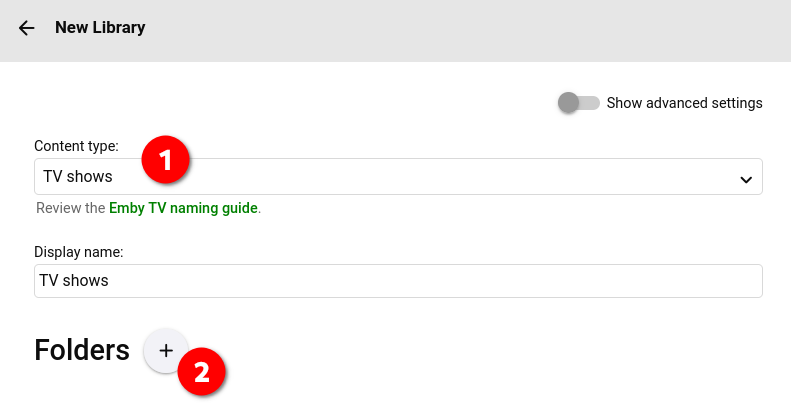
On the “New Library” modal, pick “TV shows” as your Content type and click that big ➕ sign next to “Folders”.
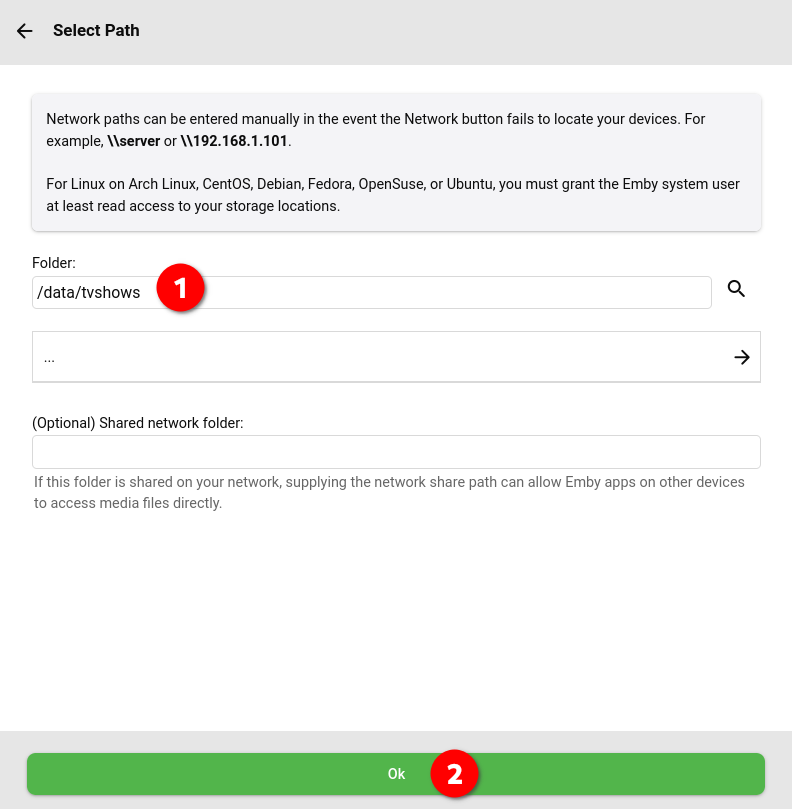
In “Select Path”, choose the /data/tvshows folder and click “Ok”
Docker Magic Note: 🎩 Don’t worry if this path looks weird! The /data/tvshows/ folder exists inside the docker environment and maps to your server’s /mediafolder/media/tvshows/ folder. It’s all connected behind the scenes!
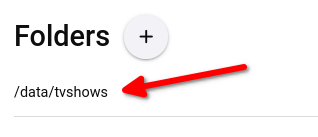
You’ll see your newly added folder in the modal:
Pick your preferred metadata language. All the default settings are good to go, but feel free to tweak them if you want to get fancy!
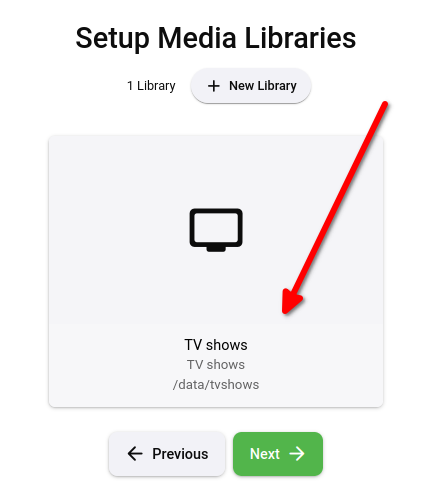
Your “New Library” screen should look something like this:
Happy with how it looks? Click “Ok”. Your TV Shows library is ready for action! 📺
Setting up your Movies library
Let’s do that one more time! Click “New Library” again.
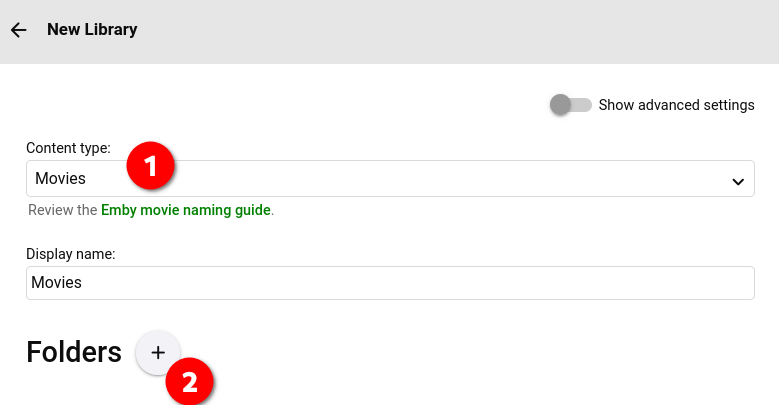
This time, pick “Movies” as your Content type and click the ➕ next to “Folders”.
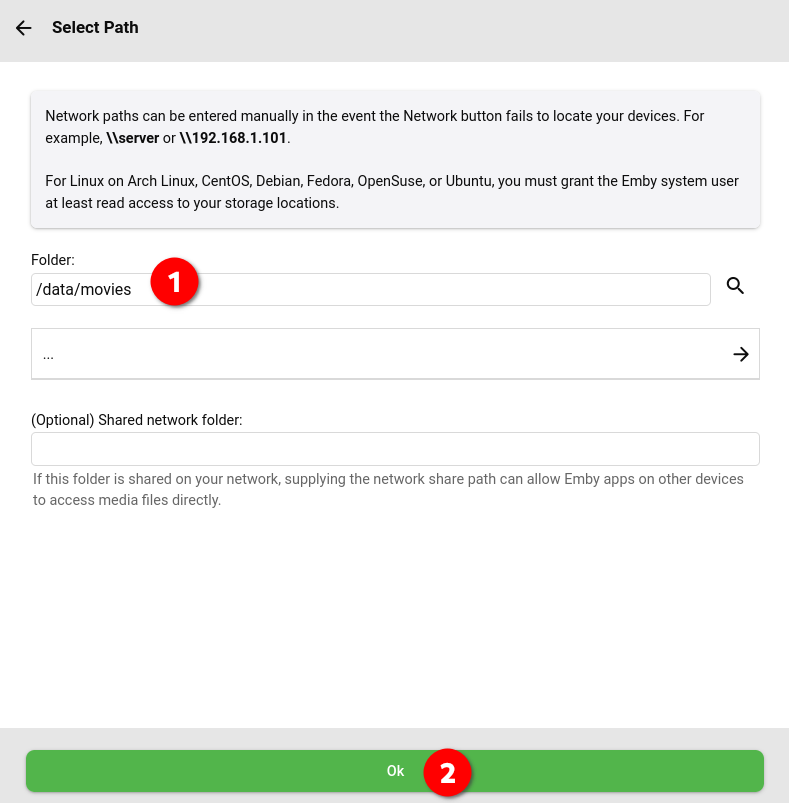
Choose the /data/movies folder and click “Ok”
More Docker Magic: ✨ Just like before, /data/movies/ is actually mapping to your server’s /mediafolder/media/movies/ folder. Docker is doing its thing!
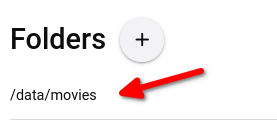
Your folder should show up in the modal:
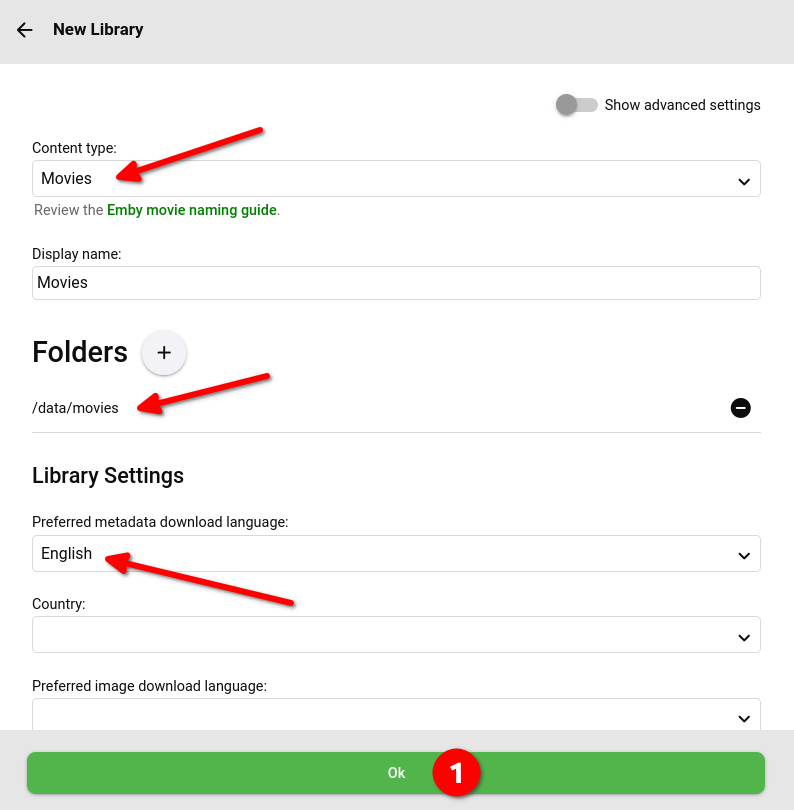
Set your preferred metadata language again. The defaults are still your friend here!
The screen should look something like this:
All set? Click “Ok”. Your Movies library is now ready! 🎬
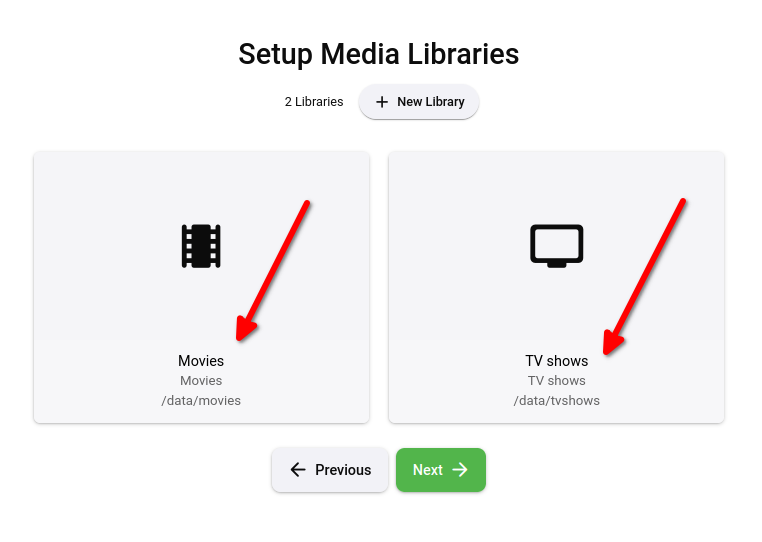
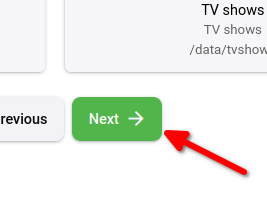
Time to move forward - click that “Next” button!
Wrapping up the setup
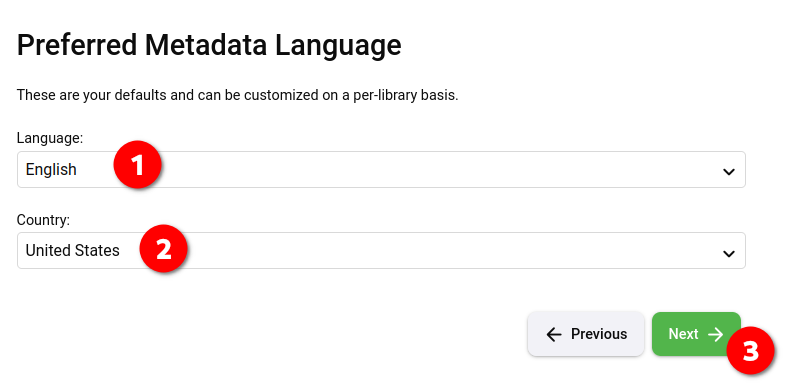
On the “Preferred Metadata Language” page, pick your language and country preferences, then click “Next”.
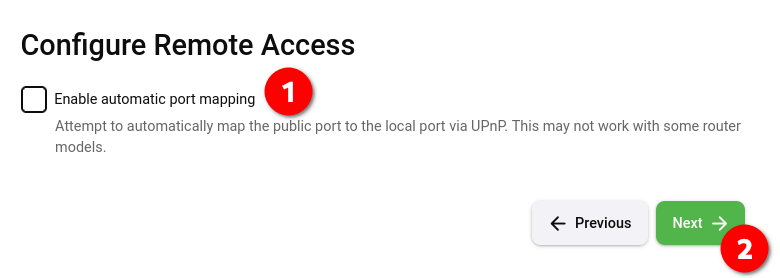
For the “Configure Remote Access” page, let’s keep things simple and secure:
- Disable “Enable automatic port mapping”
- Click “Next”
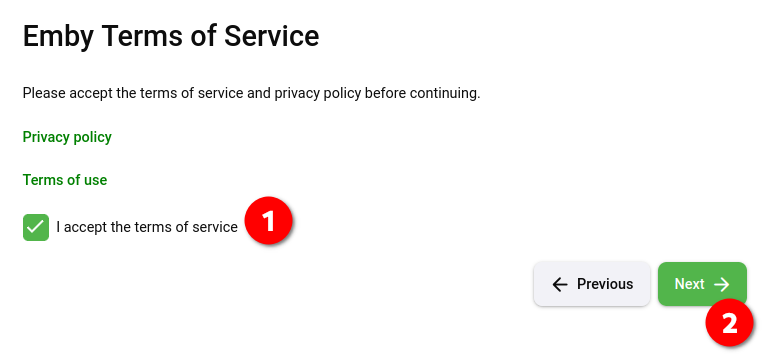
Time to accept the terms of service (you read those, right? 😉). Click “Next”.
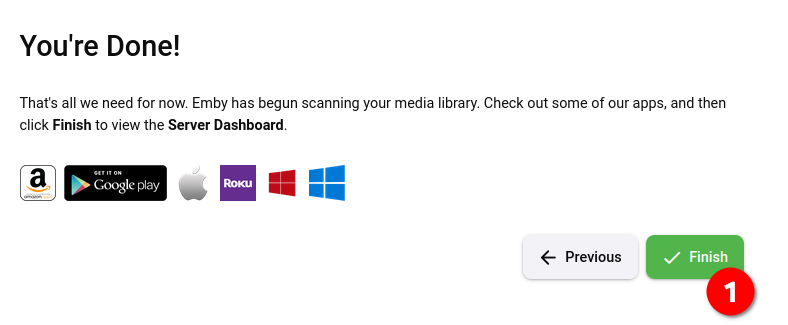
You’re all done! Click “Finish” to see your new Emby dashboard. 🎉
Logging in to Emby
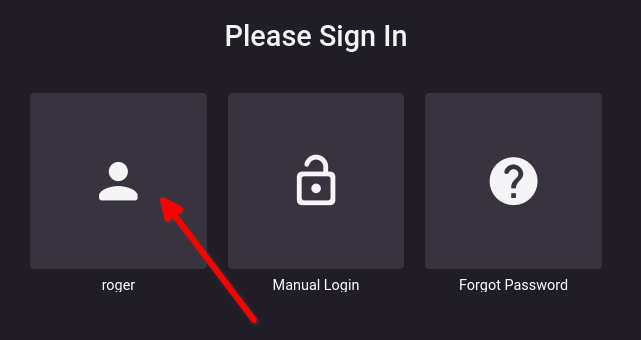
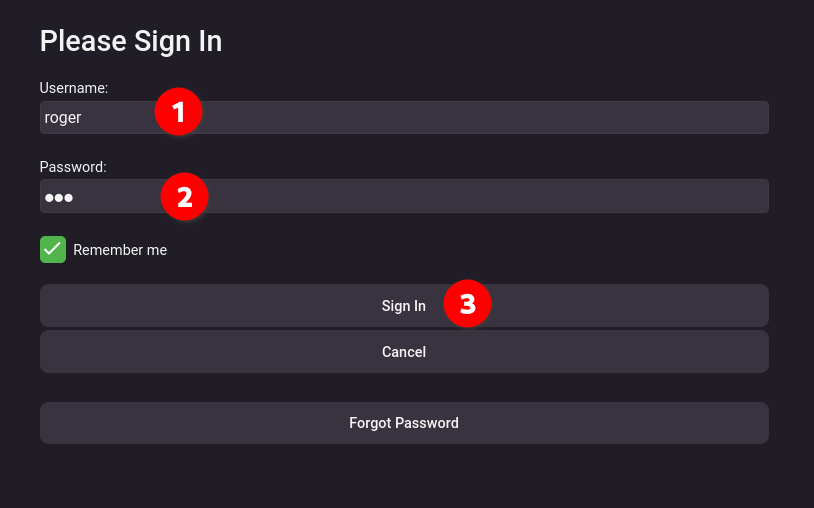
First up, pick your user and log in with the credentials you created earlier.
And there it is! Your very own streaming service, ready to go! 🌟
That’s all folks! 🎬
YAMS is fully up and running! Want to see how everything works together? Head over to Running everything together.
Pro Tip! 💡
If you’re loving Emby, I highly recommend checking out Emby Premiere! It’s totally optional, but it gives you some really cool features like:
- Offline media for your devices
- Hardware transcoding (smoother playback!)
- Auto-conversion of your content
- And lots more!
I actually canceled all my streaming services, bought a 1-year Emby Premiere license, and never looked back. Just saying! 😉

