Plex
What is Plex?
From their website:
With our free app you can add, access, and share all the entertainment that matters to you, on almost any device—including your own personal media collection. Guess that makes us the hardest working app in show business.
In YAMS, Plex is going to be your streaming service powerhouse! 🌟 It’s like having your own Netflix, but with way more control. Plus, sharing with friends and family is super easy!
Note: Be warned that Plex has recently put its most basic features behind a monthly subscription or a single lifetime purchase.
First steps
Before we dive in, we need to do a bit of setup magic to let Plex work its charms. First, stop YAMS:
$ yams stop
Now, let’s allow your IP range to access Plex. Head to your Plex config folder (I’m assuming your install location is /opt/yams - adjust if you used a different path):
$ cd /opt/yams/config/plex/Library/Application\ Support/Plex\ Media\ Server/
Inside that folder, we need to edit Preferences.xml:
$ vim Preferences.xml
(Don’t worry if you’re not a vim fan - nano works just fine too! 😉)
Add this line right after the <Preferences part:
<Preferences allowedNetworks="<your_subnet_IP>/255.255.255.0" ...
The ... means “leave the rest of the file as is” - we’re just adding the allowedNetworks bit.
How do you find your subnet IP? 🤔
It usually follows these patterns:
- If your server IP is
192.168.0.100, your subnet is192.168.0.0 - If your server IP is
10.0.0.25, your subnet is10.0.0.0
Time to restart YAMS:
$ yams restart
Let’s check if everything’s working:
$ docker logs plex
If you see something like:
Failed to load preferences at /config/Library/Application Support/Plex Media Server/Preferences.xml
Failed to load preferences at /config/Library/Application Support/Plex Media Server/Preferences.xml
It means your Preferences.xml needs some fixing - double-check the format and try again!
Note: Want to learn more about this setup? Check out this TrueNAS community thread.
Initial configuration
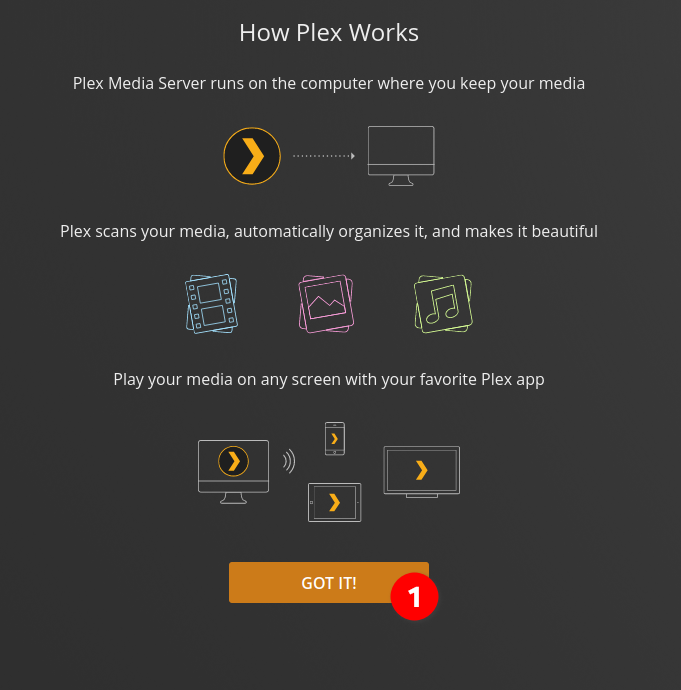
In your browser, go to http://{your-ip-address}:32400/web and you’ll see Plex’s setup page. Click “Got it!” to get started.
Important Note: Unlike other YAMS services, Plex requires the “/web” path after the port number. If you just go to port 32400 without “/web”, you’ll see an XML file instead of the web interface.
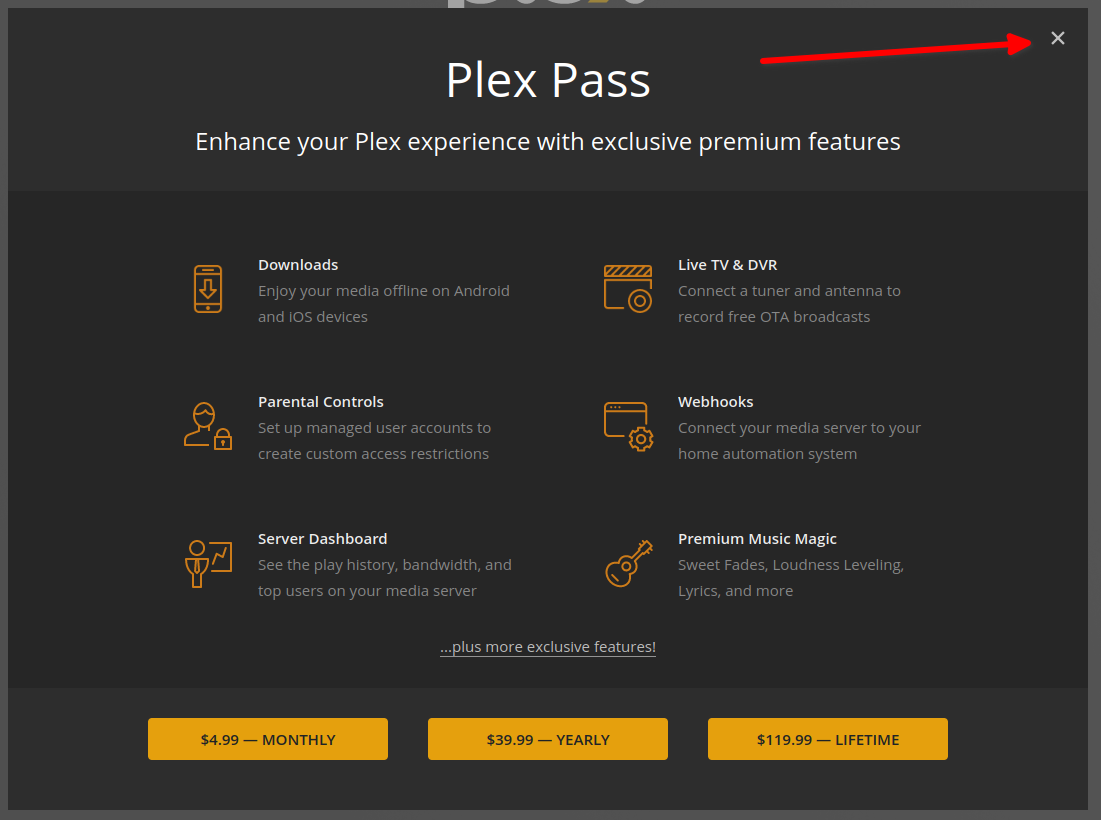
After logging in, you’ll see a “Plex Pass” modal. You can close that for now - we’ll get to the good stuff!
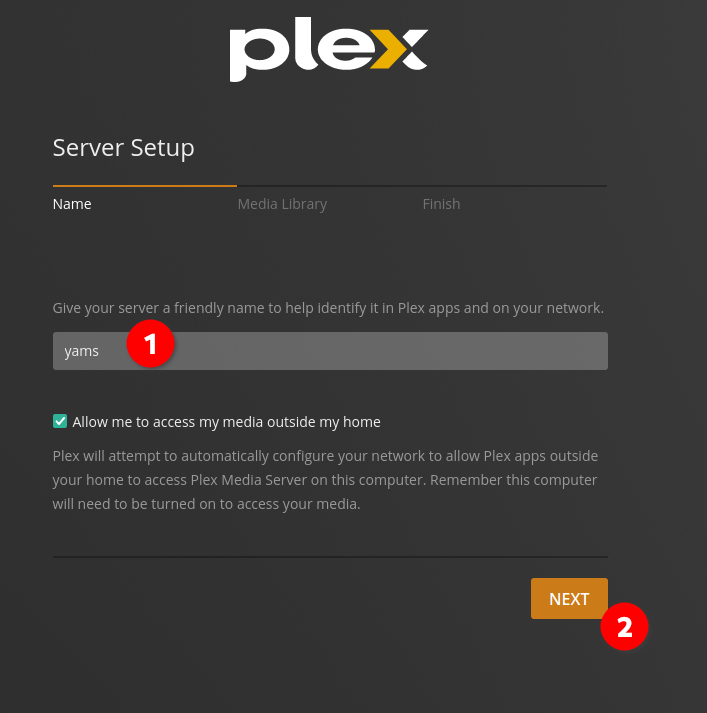
Give your server a name and click “Next”.
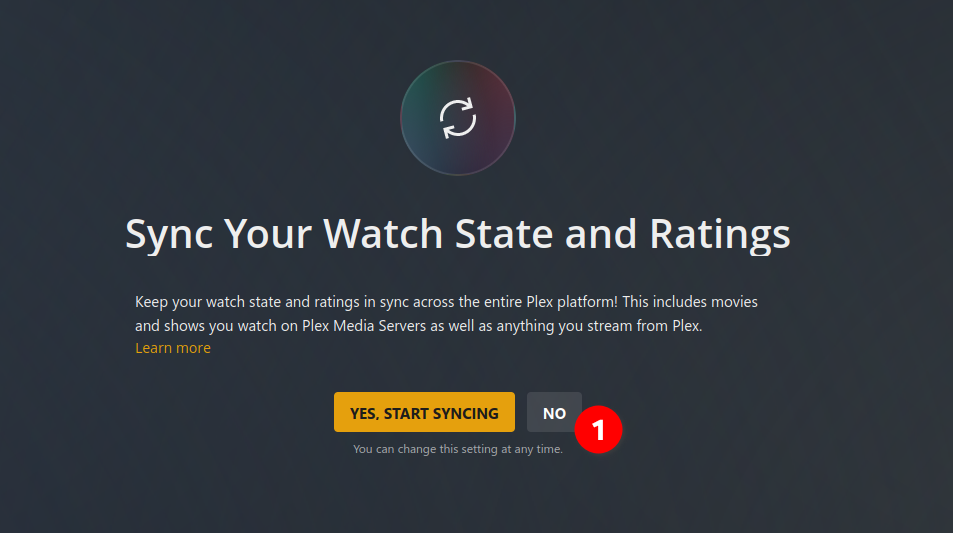
For “Sync Your Watch State and Ratings”, just click “No” - keeping things simple!
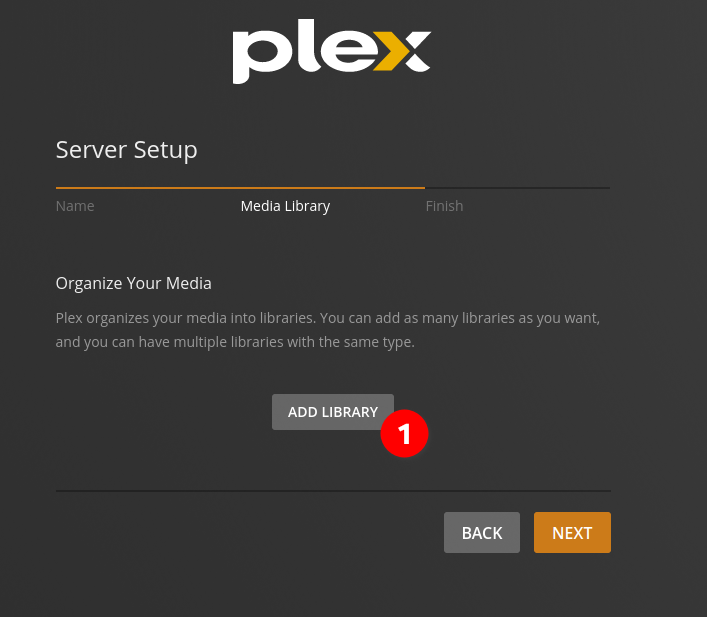
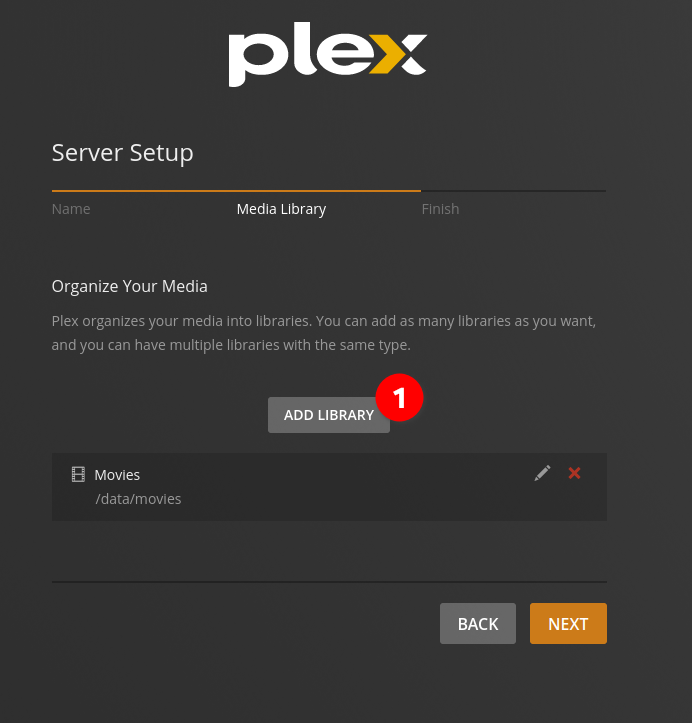
Time to add our media! Click “Add Library” on the “Media Library” screen.
Adding Movies
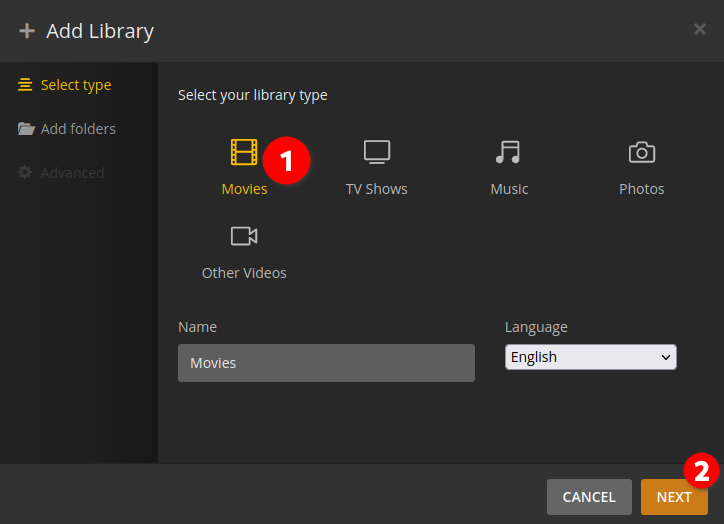
Pick “Movies” as your library type and click “Next”.
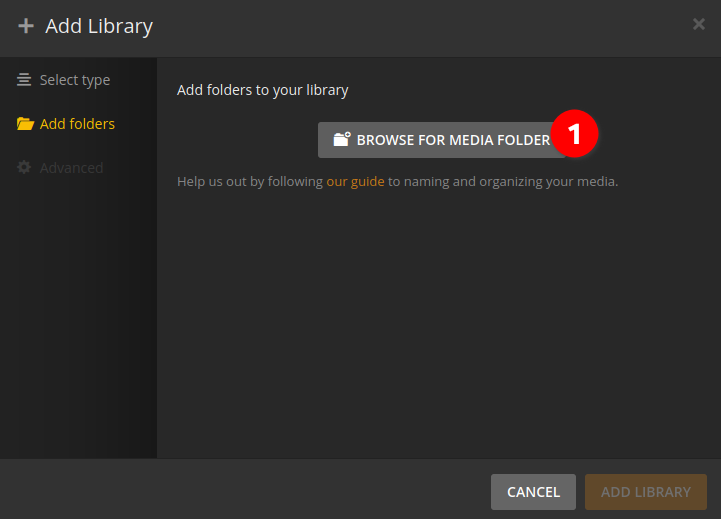
Click “Browse For Media Folder”.
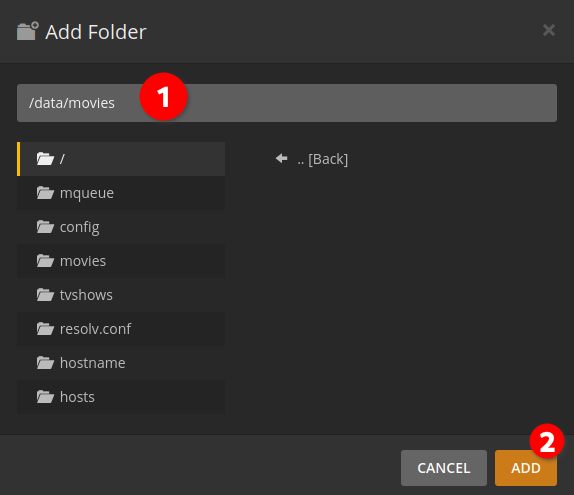
Choose the movies path (/data/movies) and click “Add”.
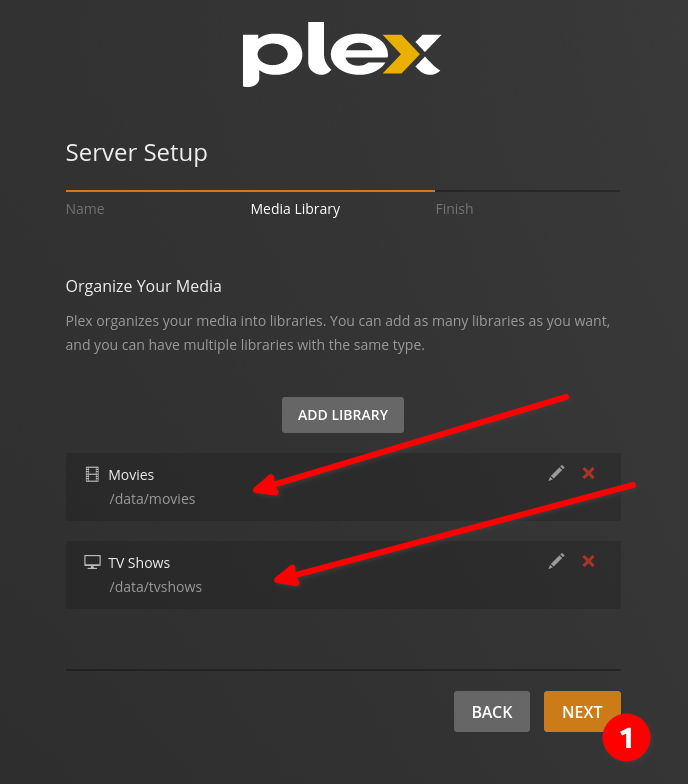
Your screen should look like this. Click “Add Library” to finish up!

Adding TV Shows
Back in “Media Library”, click “Add Library” again.
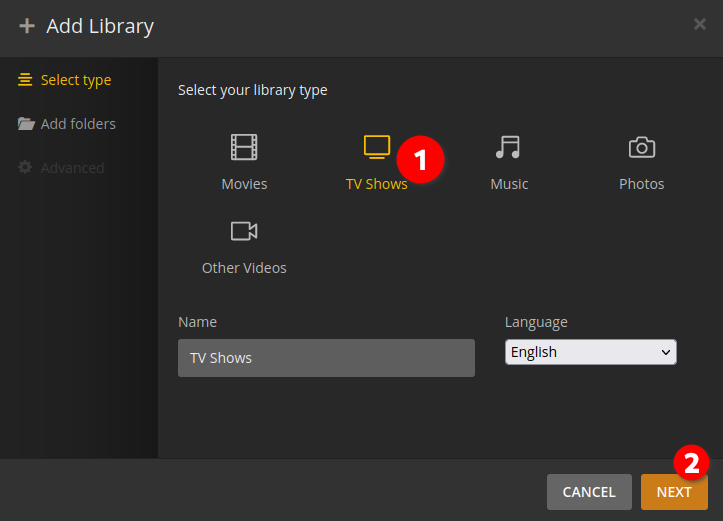
This time pick “TV Shows” and click “Next”.
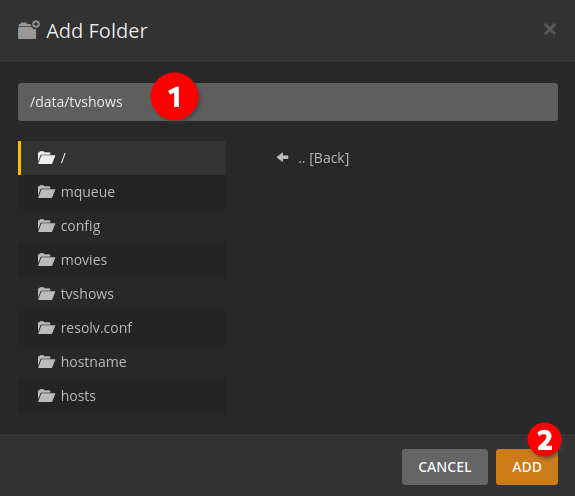
Click “Browse For Media Folder” again.
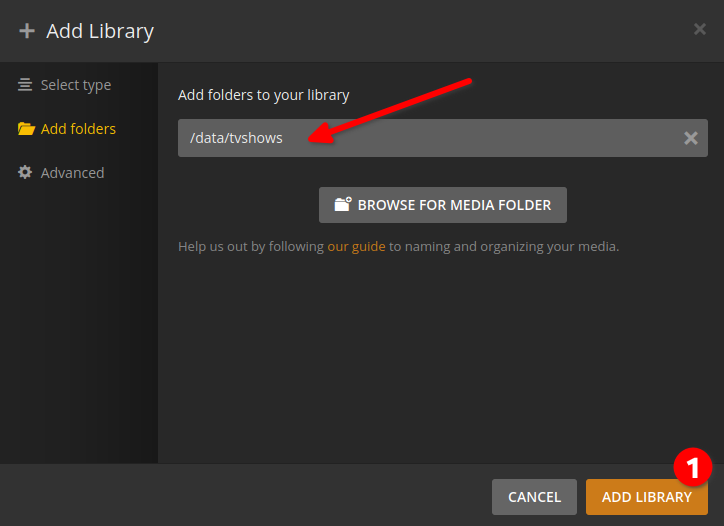
Choose the TV Shows path (/data/tvshows) and click “Add”.
Looking good? Click “Add Library”!
Your “Media Library” screen should now show both libraries. Click “Next” to continue.
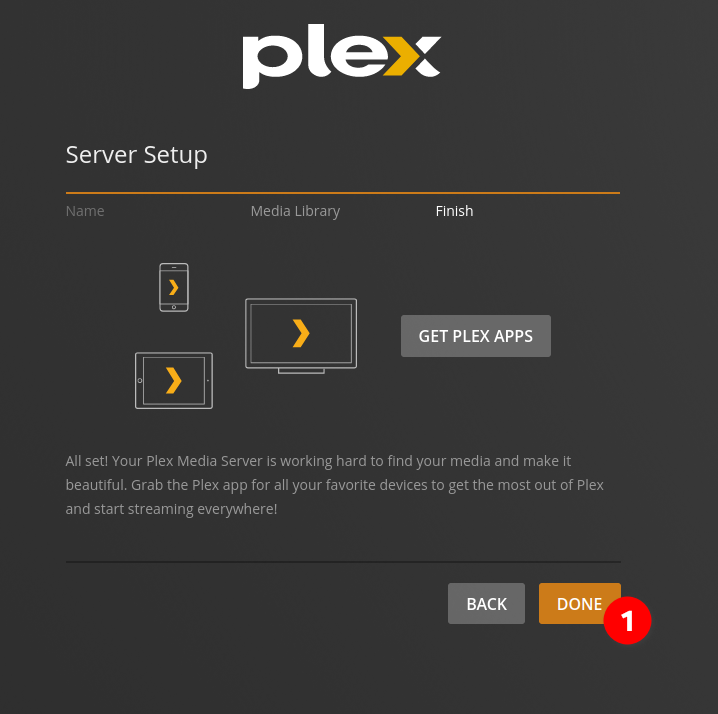
Finishing up
Almost there! Click “Done” on the finish screen.
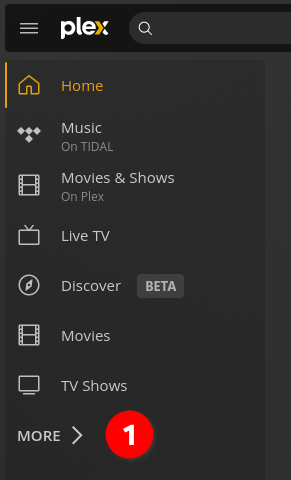
Welcome to your Plex dashboard! 🎉 Click on “More” in the left side panel.
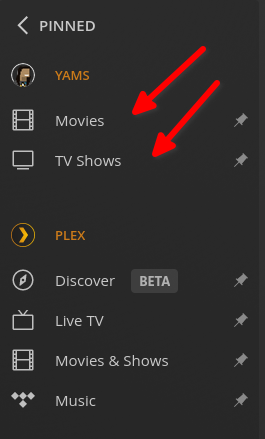
There they are - your local “Movies” and “TV Shows” libraries!
That’s all folks! 🎬
YAMS is fully up and running! Ready to add some content? Head over to Running everything together!
Want to become a Plex power user? 💪
If you want to really dive into what Plex can do, check out the TRaSH Guide for Plex. They’ve got some amazing advanced configurations in there!


